元服务—基础篇(2)
2024-11-09 21:10:16
14次阅读
0个评论
作者:MoonLight
创建虚拟机
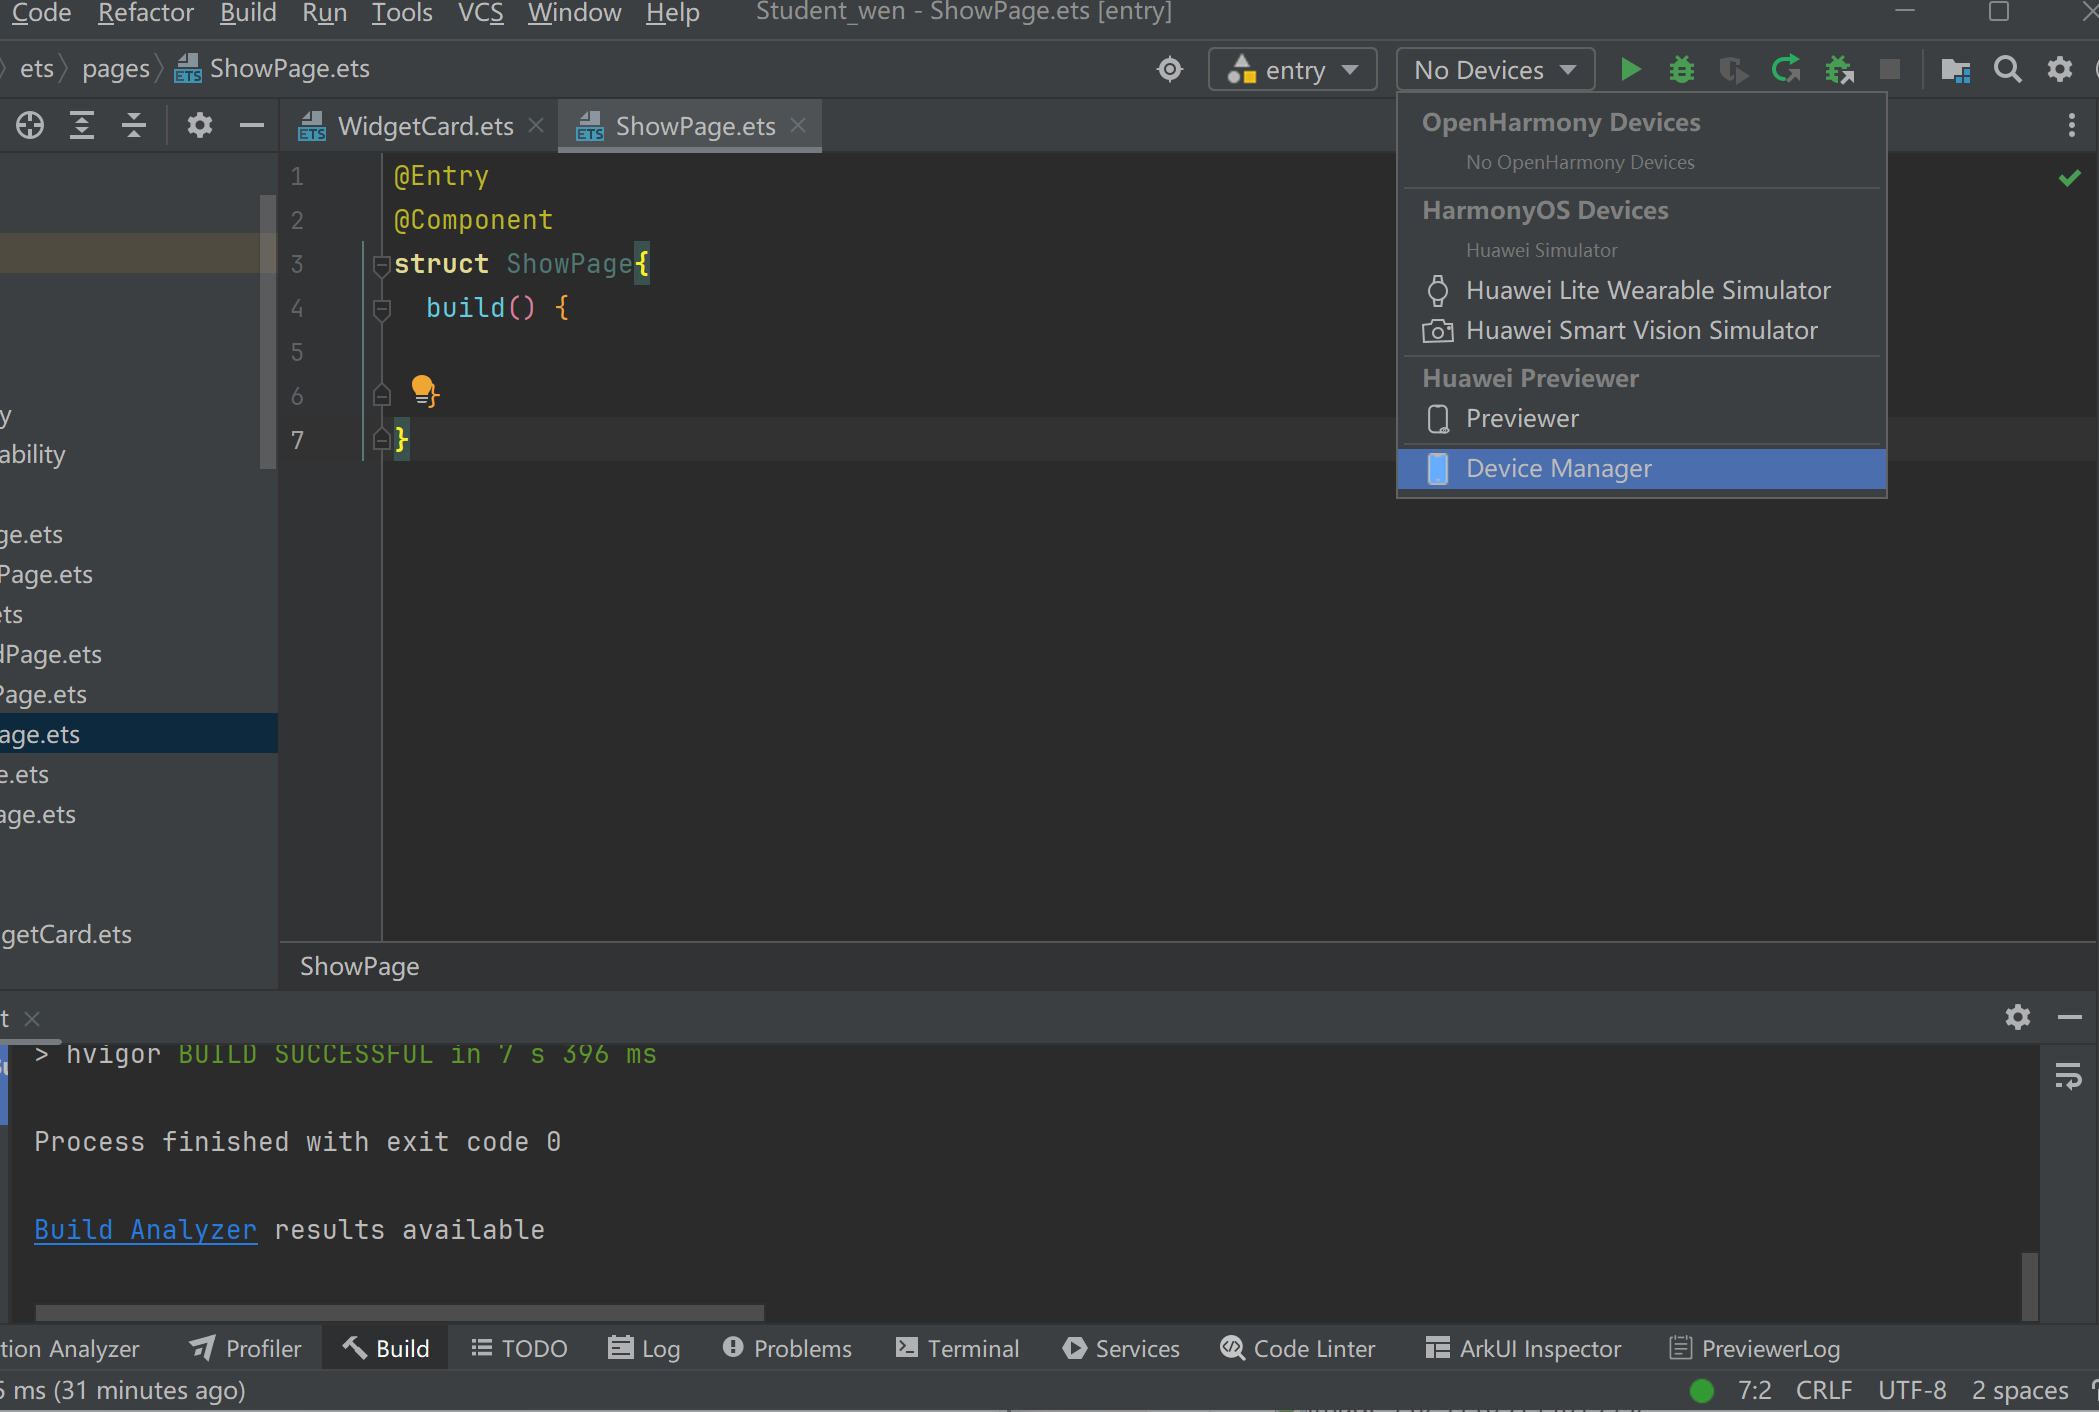
选择右上角的【虚拟机】下拉按钮,点击【Device Manager】
 创建模拟器【New Emulator】 下载目标虚拟机的包,下载完毕后点击下一步即可
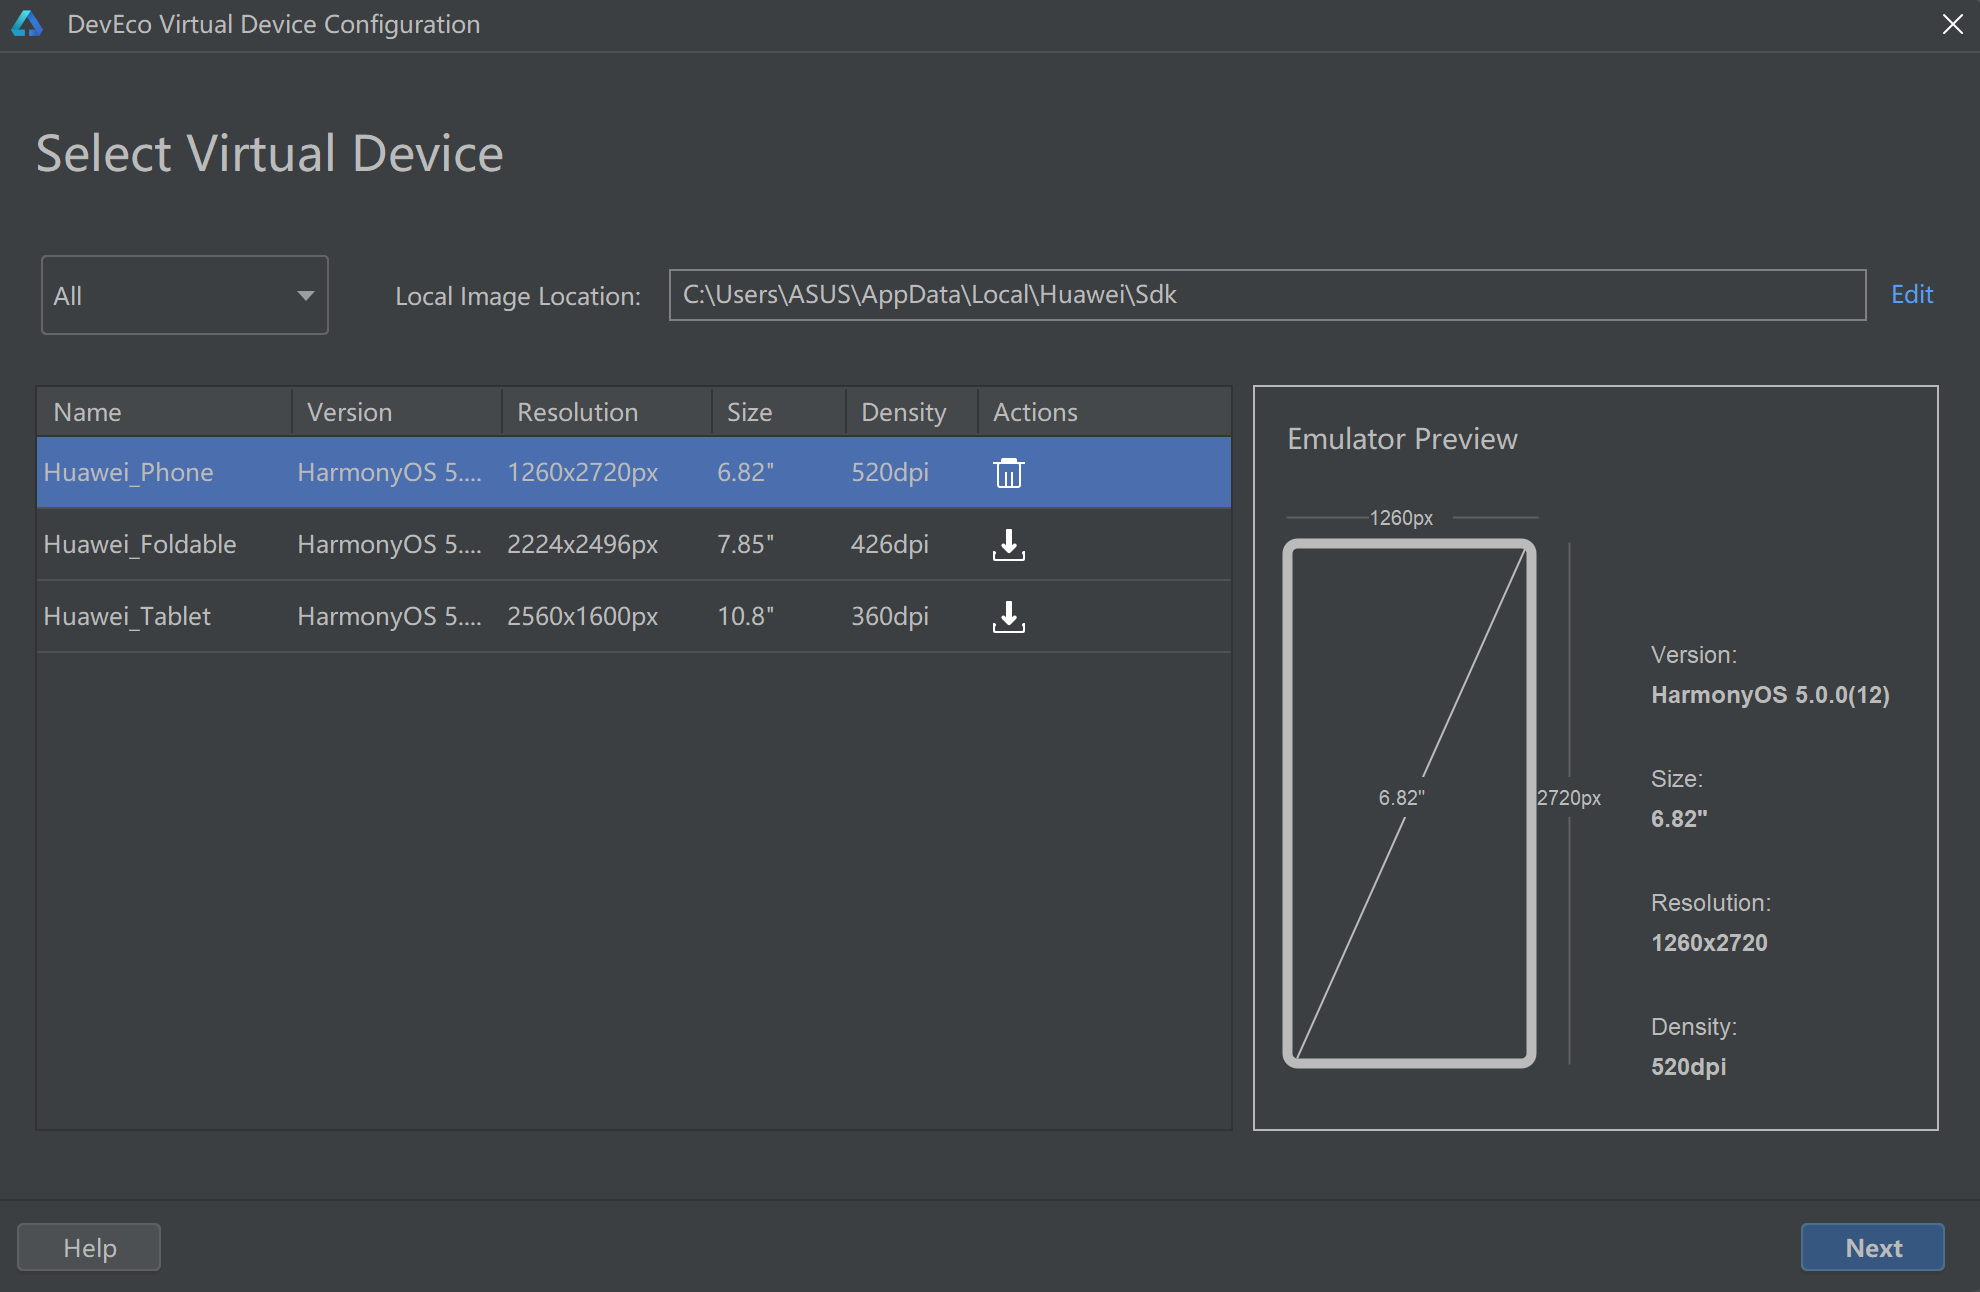 下载完毕后,启动、使用虚拟机
新建元服务卡片
点击 File>New > Service Widget > Dynamic Widget
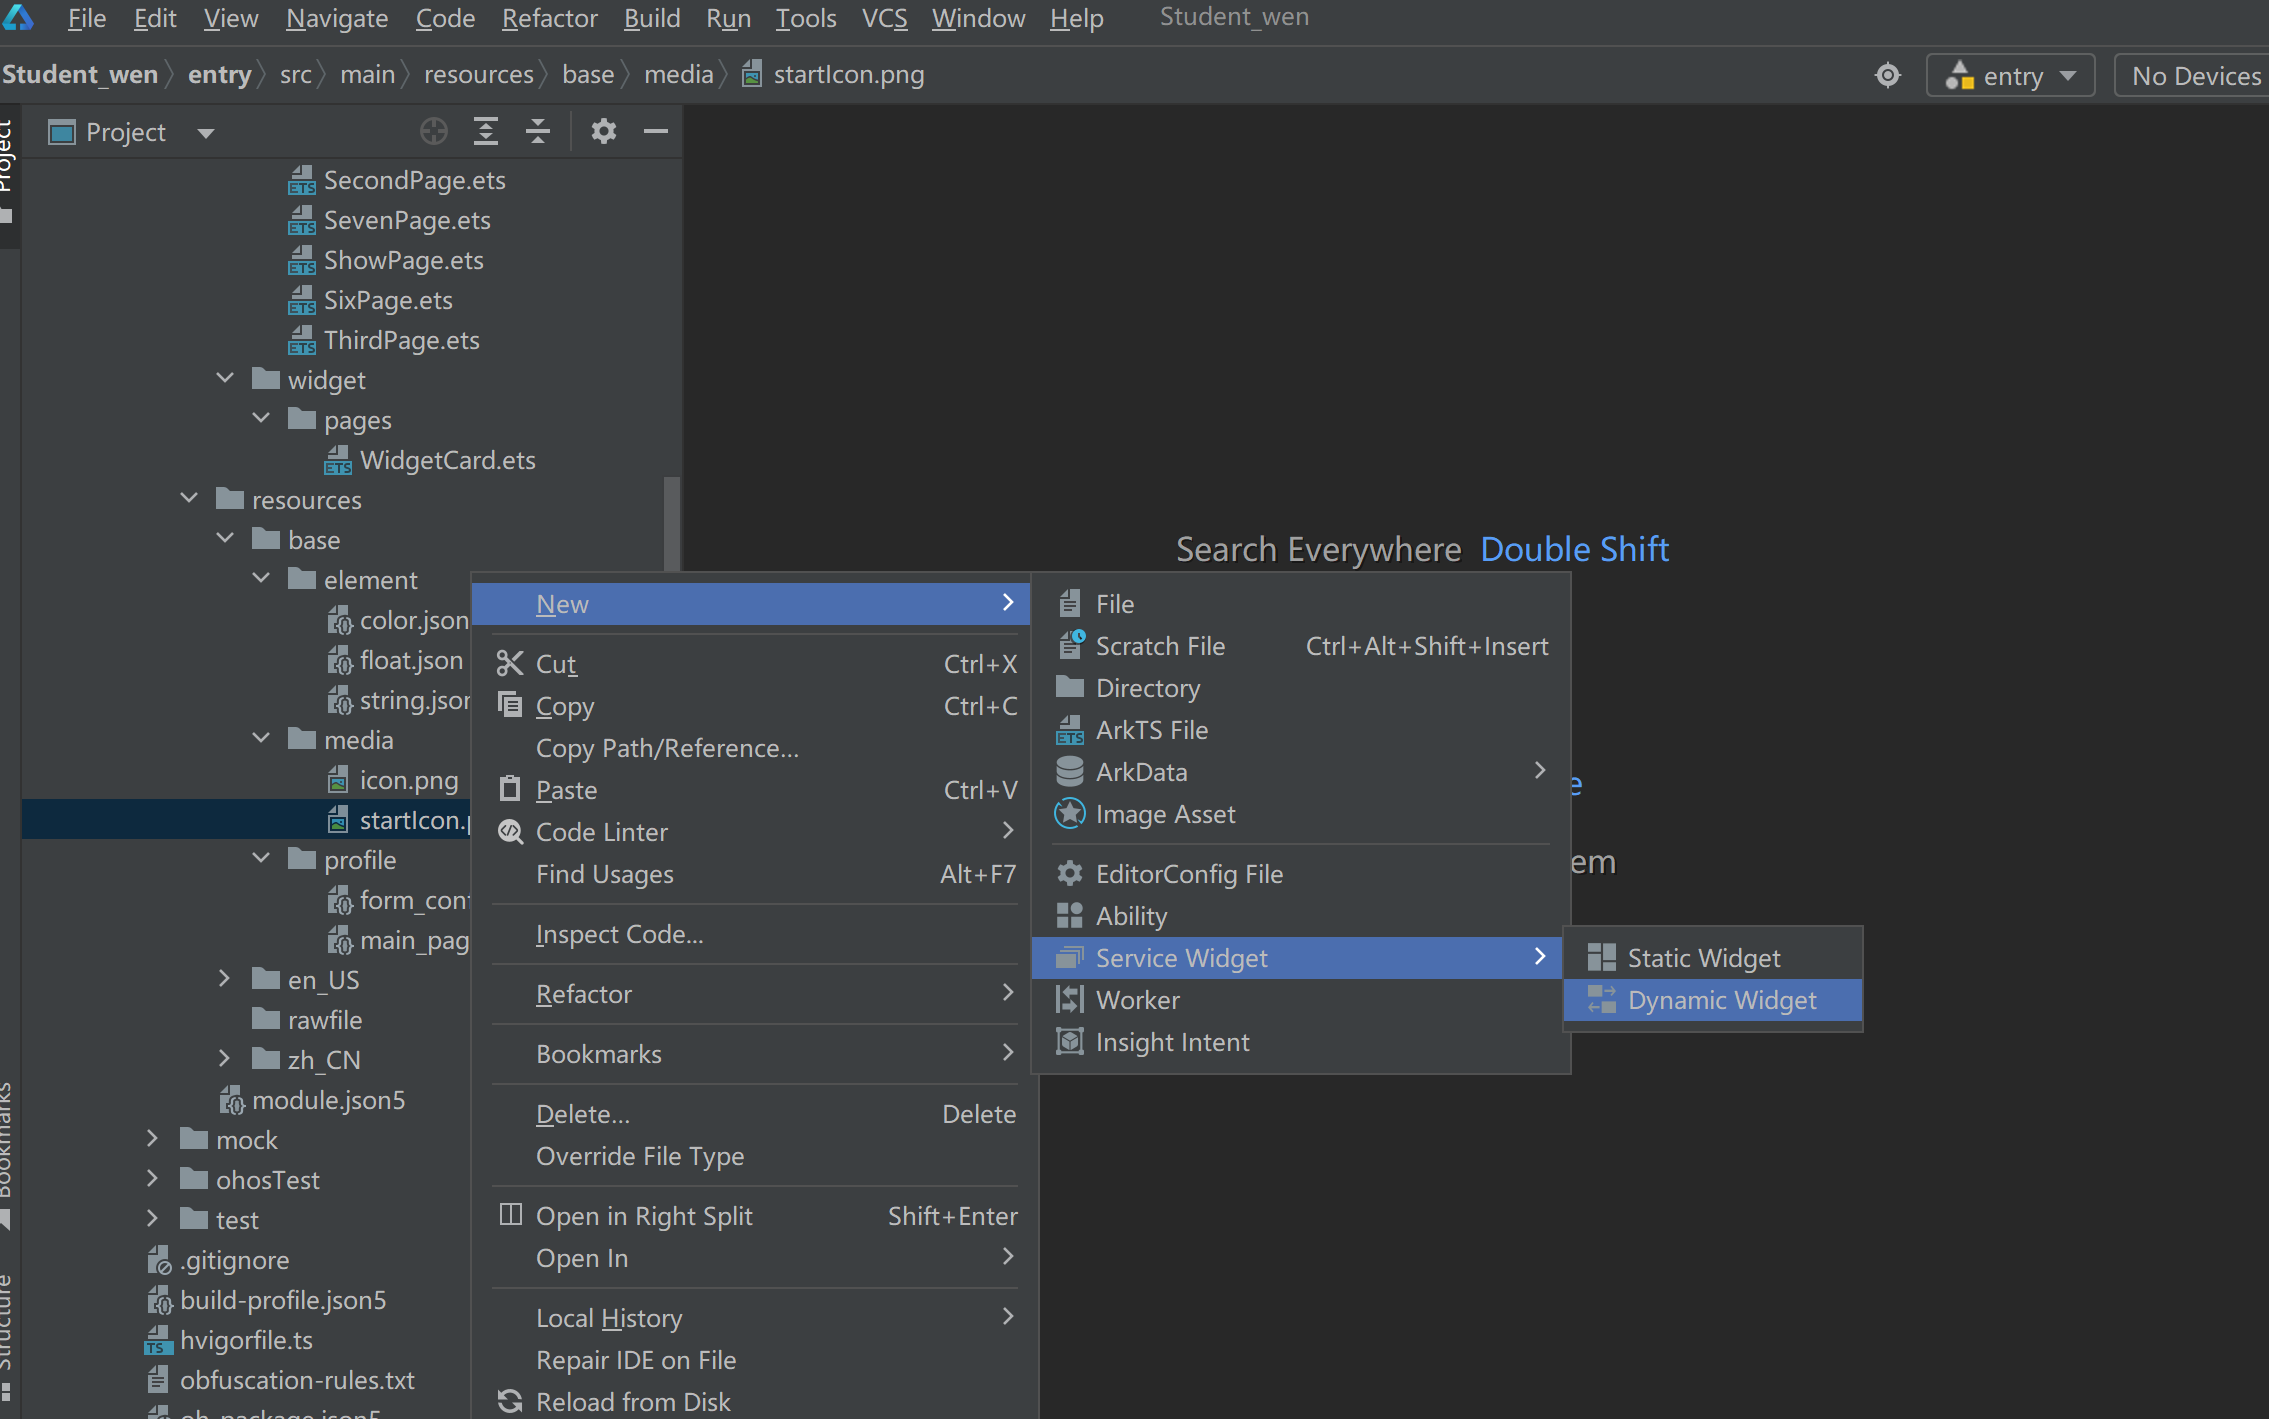 默认选择即可
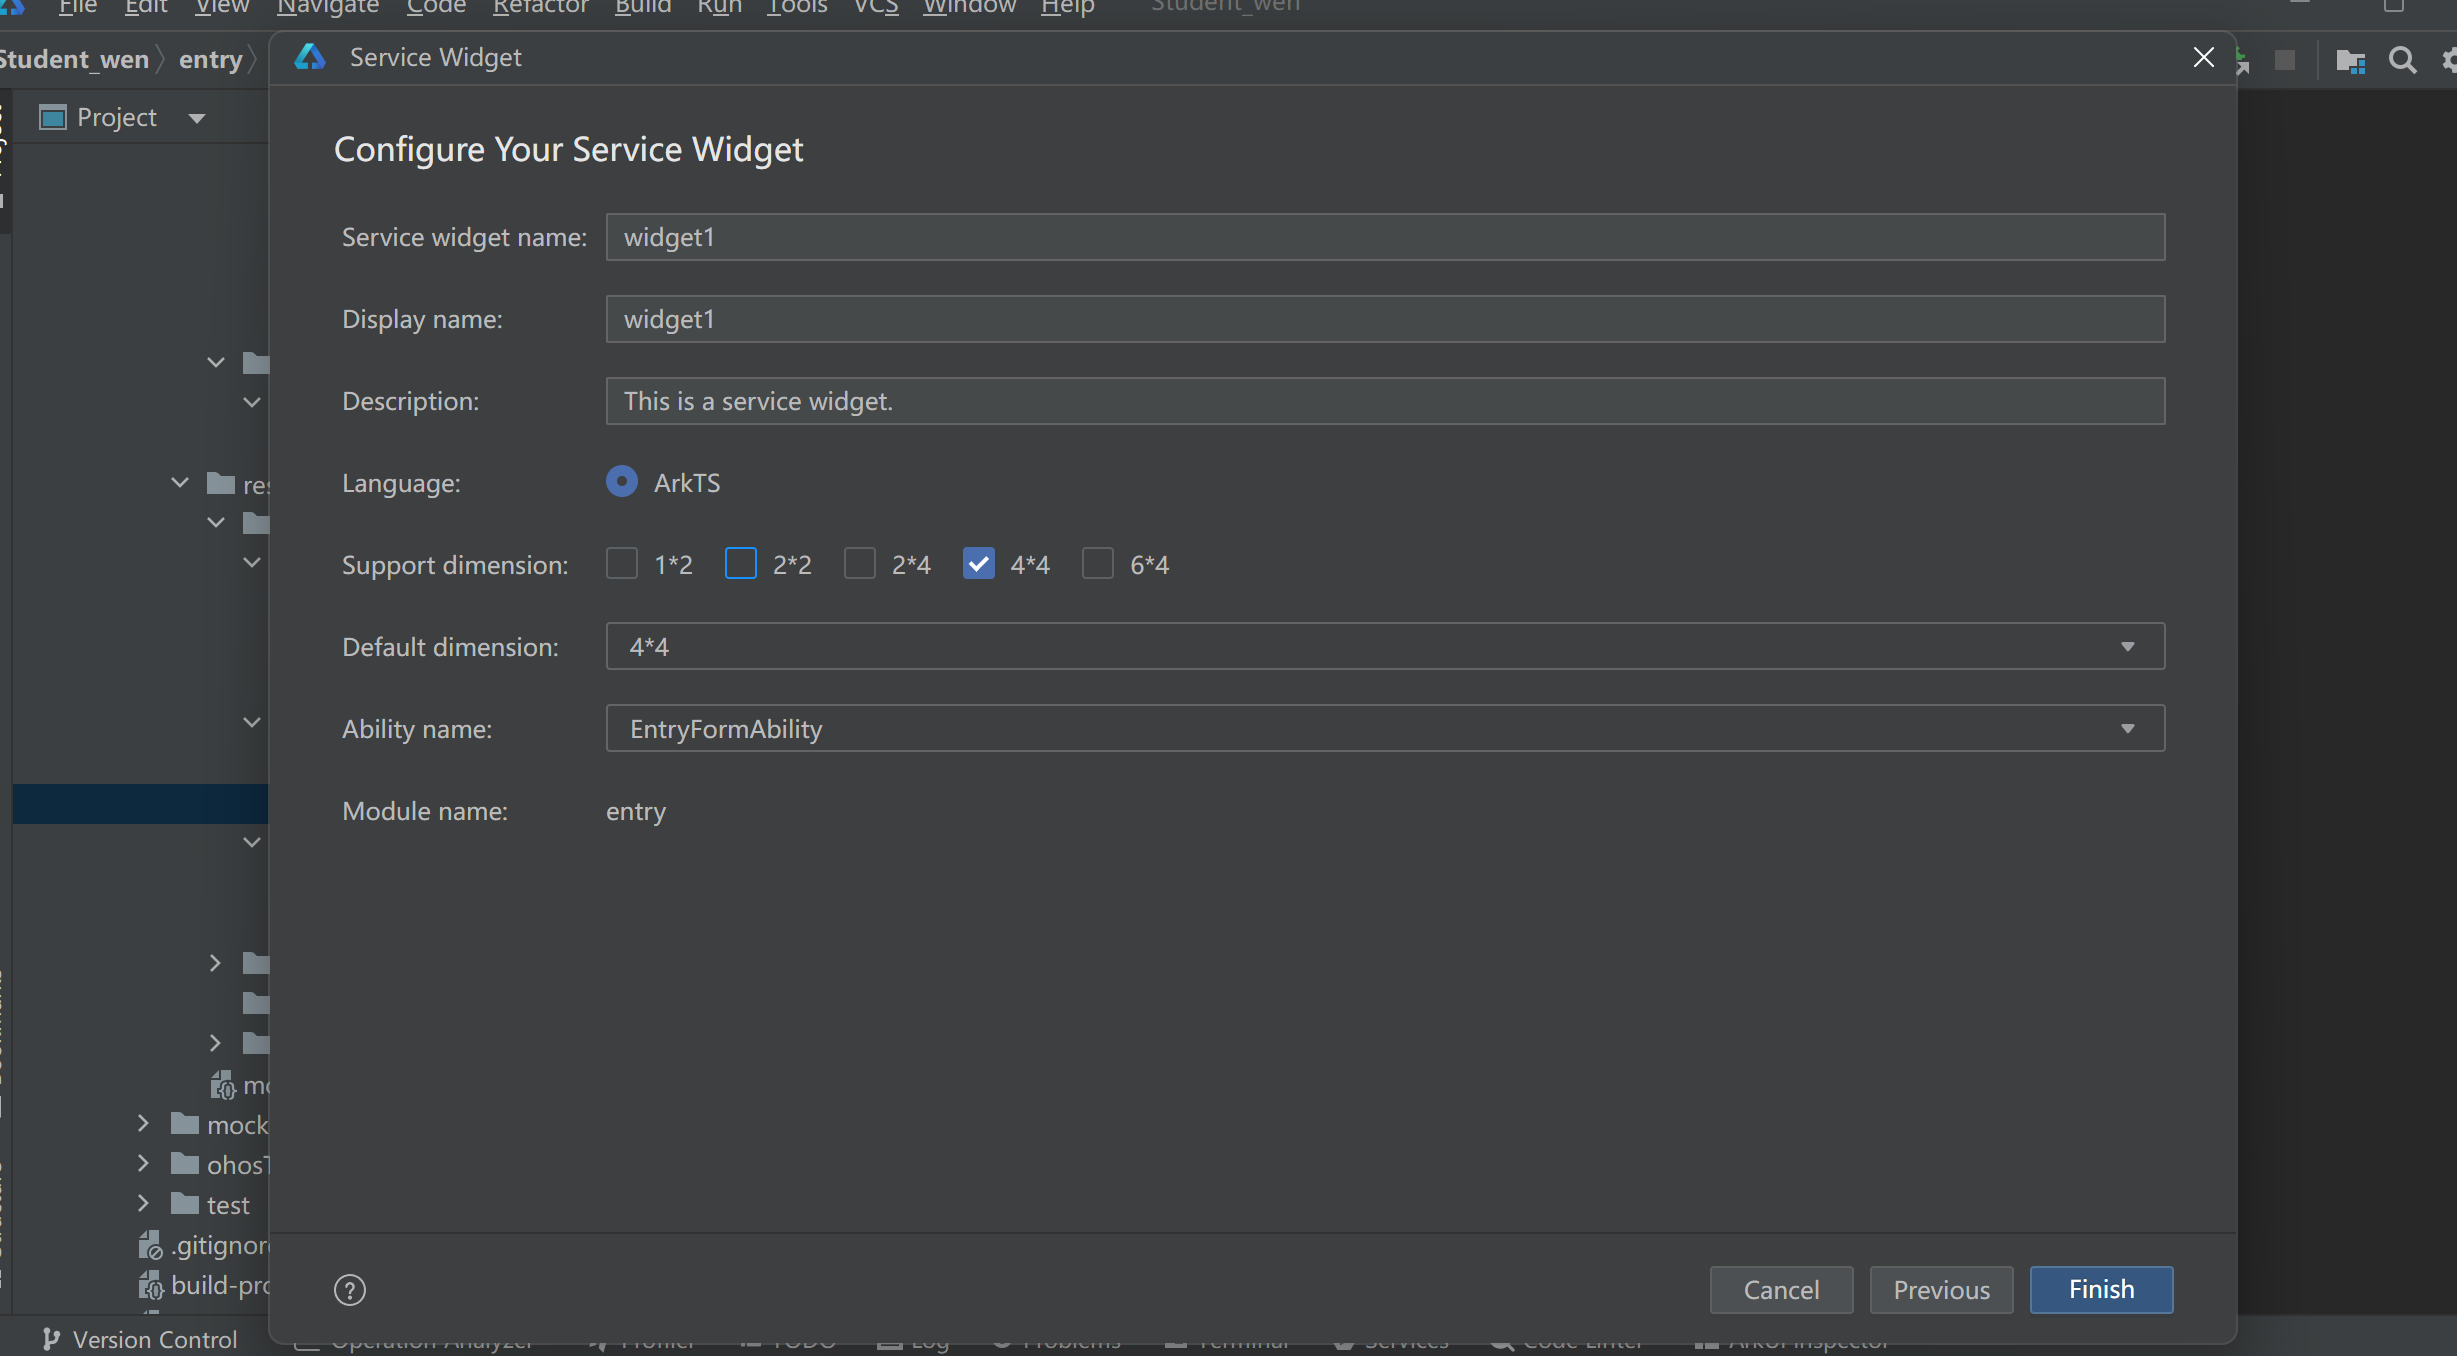 根据自己需求选择卡片规格
- Service widget name:卡片的名称,在同一个应用/服务中,卡片名称不能重复,且只能包含大小写字母、数字和下划线。
- Display name:卡片预览面板上显示的卡片名称。仅API 11 及以上Stage工程支持配置该字段。
- Support dimension:选择卡片的规格。部分卡片支持同时设置多种规格。首次创建服务卡片时,将默认生成一个EntryCard目录,用于存放卡片快照。
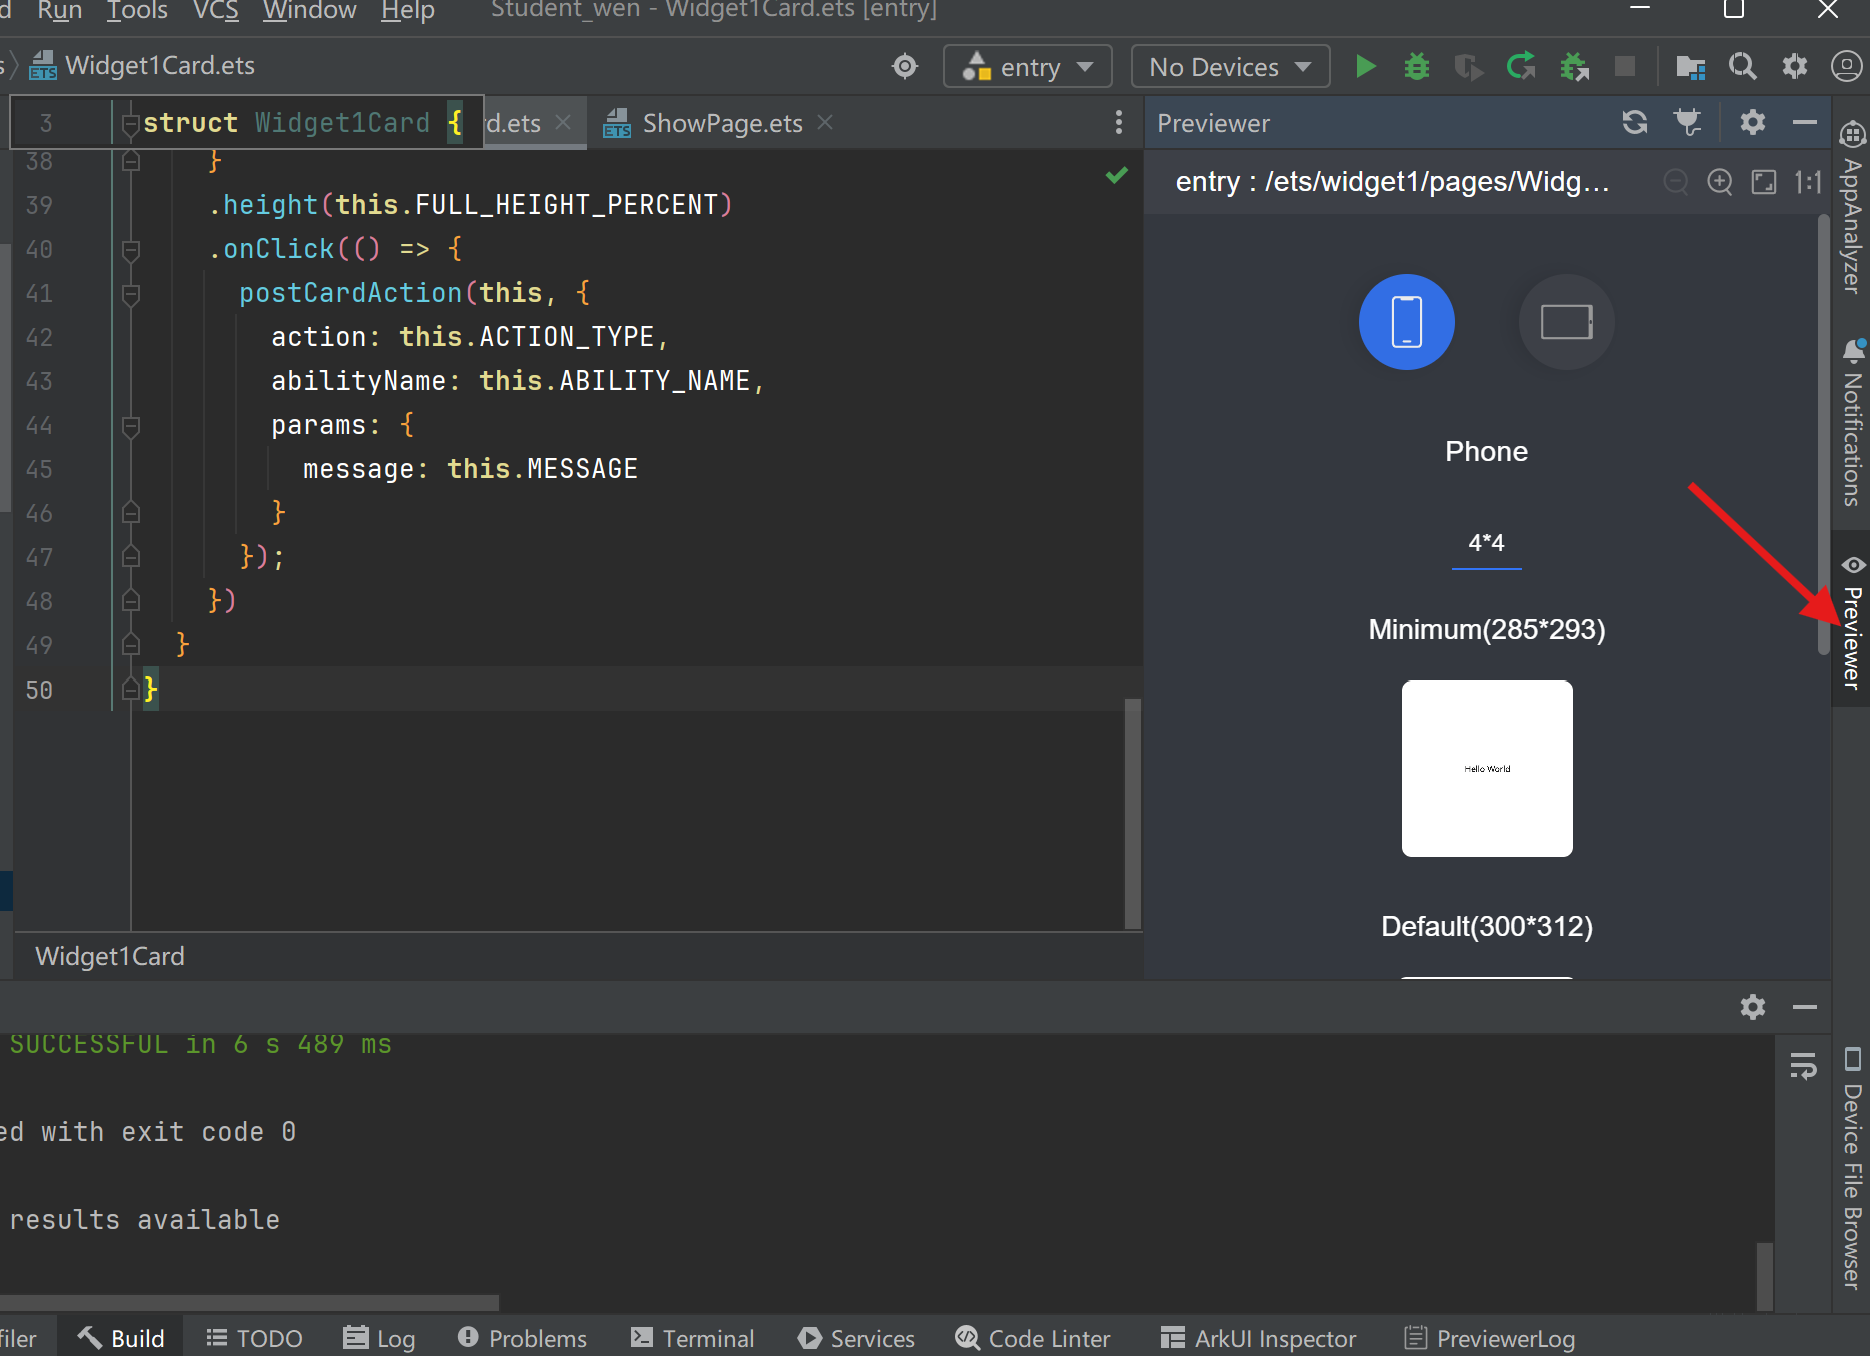
- Default dimension:在下拉框中可选择默认的卡片 元服务卡片生成后在 src>main>ets>widget>pages>WidgetCard.ets路径下
@Entry
@Component
struct Widget1Card {
  /*
   * The title.
   */
  readonly TITLE: string = 'Hello World';
  /*
   * The action type.
   */
  readonly ACTION_TYPE: string = 'router';
  /*
   * The ability name.
   */
  readonly ABILITY_NAME: string = 'EntryAbility';
  /*
   * The message.
   */
  readonly MESSAGE: string = 'add detail';
  /*
   * The width percentage setting.
   */
  readonly FULL_WIDTH_PERCENT: string = '100%';
  /*
   * The height percentage setting.
   */
  readonly FULL_HEIGHT_PERCENT: string = '100%';

  build() {
    Row() {
      Column() {
        Text(this.TITLE)
          .fontSize($r('app.float.font_size'))
          .fontWeight(FontWeight.Medium)
          .fontColor($r('app.color.item_title_font'))
      }
      .width(this.FULL_WIDTH_PERCENT)
    }
    .height(this.FULL_HEIGHT_PERCENT)
    .onClick(() => {
      postCardAction(this, {
        action: this.ACTION_TYPE,
        abilityName: this.ABILITY_NAME,
        params: {
          message: this.MESSAGE
        }
      });
    })
  }
}            //这是新建元服务卡片初始代码
可以看到预览【Previewer】
00
